TutorialsDecember 2, 2023
How to use Perplexity to Notion
Instructions for using the Perplexity to Notion tool.
Posted by
Related reading
Perplexity to Notion Introduction
Perplexity to Notion is a tool that simplifies saving your Perplexity conversations to Notion with just one click.
When installing and using it for the first time, you need to use the notion of authorization first. After authorization, you only need to click the Save button.
1. Connect to Notion
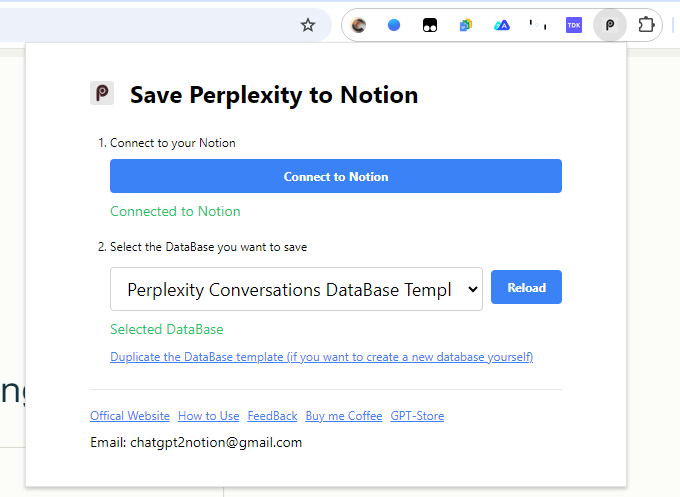
- Please click on the pop-up icon and select the "Connect to Notion" button.
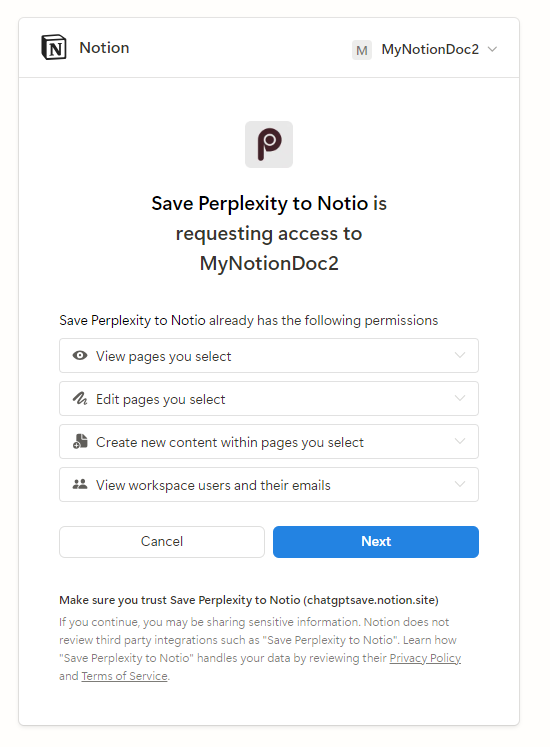
- In the Notion authorization window, select your workspace and click on the "Next" button.
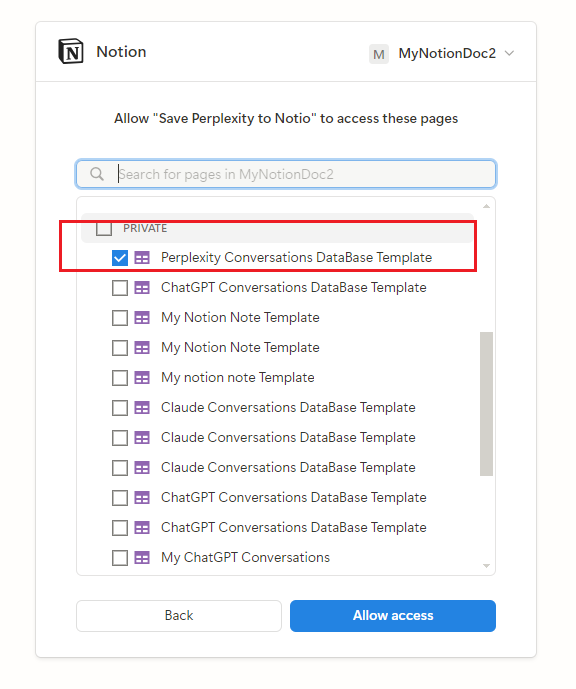
- Select the "Save Page" option. You can either choose an existing page or create a new page with a blank template. Once you have made your selection, click on the "Allow Access" button.
Tip: If you can't select the developer template, click the "Back" button, then click "Allow Access" again. This should enable you to select the developer template. This is a known Notion bug.
- If you select an existing page, you can choose one or multiple pages.
- Once the authorization process is complete, you will be redirected to a Notion page. Simply close the page and return to the Perplexity website to start saving your conversations.


Save Conversations
After authorization, you only need to click the Save button.
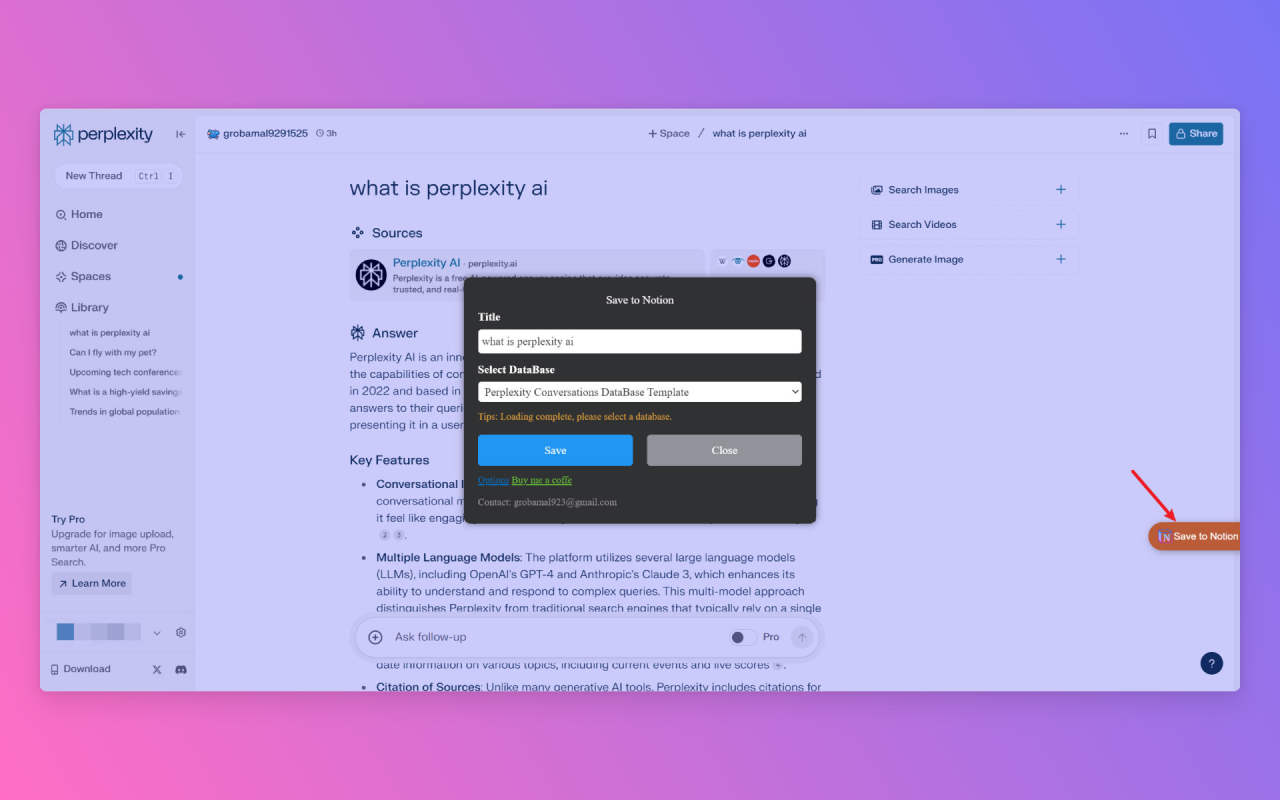
- On the Perplexity website, click on the "Save to Notion" button located in the lower right corner of the screen.
- Select a page. If you have chosen multiple pages, select all of the pages you wish to save.
- Finally, click on the "Save" button to save your conversations to Notion.
- After saving, you can view the saved conversations in Notion.

